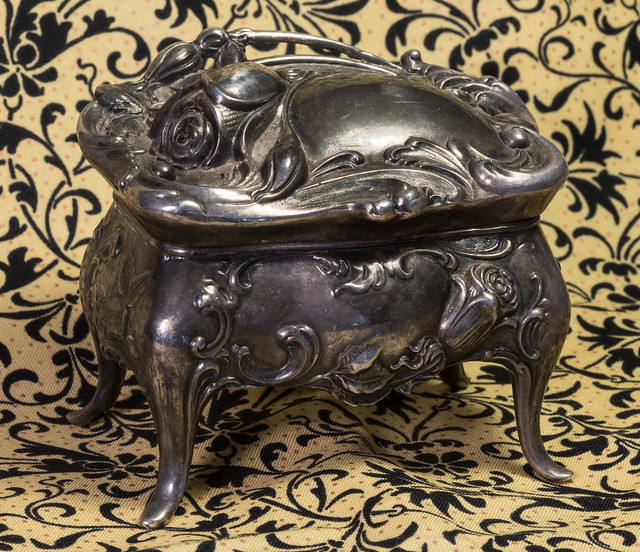
It turns out August was a good month. A new dealer showed up at the open market and had something interesting that I just had to have. A beautiful metal box on legs with a rose on it. Of course it needed some TLC, but I'd never seen anything similar before. Sold! Renaissance

Box in it's original condition
This one would definitely need some elbow grease.
Some internet searching identified this as a casket style jewelry box. The inside of these boxes - rather than being lined along the edges - is puffy like a pillow (or a casket) on the inside. I was able to use one web site to date this piece to the 1920's. The inside is a pastel rather than a dark or red color - and the silver exterior was all tarnished off (They didn't learn to electroplate better until the 40's - so if you find a shiny one, it's a newer copy...)
Box before cleaning - with the good camera and a nice background
Even though this needed some work, the detail was amazing.
But hard work was ahead of me. I have to again thank Ann of the NBSS Jewelry program for helping me out for the second year in a row. For the second year in a row I brought a jewelry box to the NBSS open house to get some advice on how to restore the piece. While last years box was cleaned with Brasso and NevrDull, this year I was introduced to Rouge Cloth for polishing.
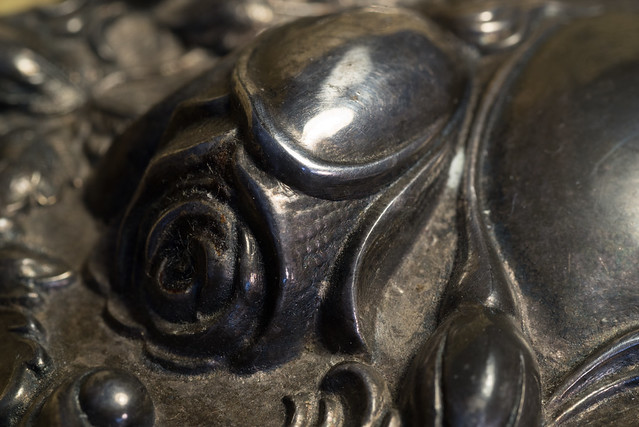
Even before cleaning, the detail was still a highlight of the piece
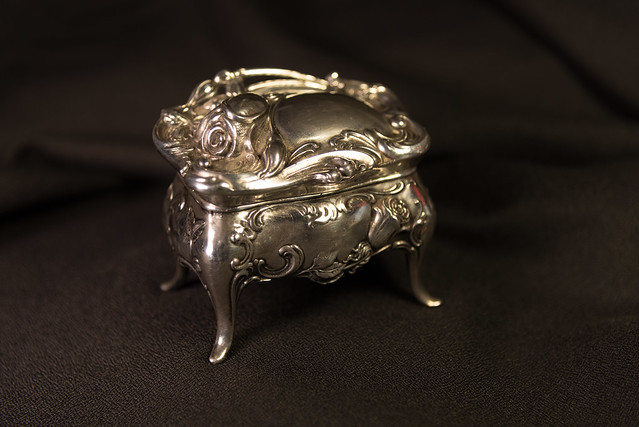
The finished product, polished, sealed, and ready for delivery
The 'unclean-able' black that remains adds character and helps emphasize the design

The top detail looks quite different after a good cleaning.
The interior needed some work as well. Someone tried to repair the interior lining with regular white glue. ugh. Who would do that. Luckily, it was regular white glue. A little dab of water and began to soften. So another few nights to soften some flue, then gently tweezer it out without damaging the lining....
I didn't polish the bottom much - I wanted to keep that in something of an original state to see where I started. There was some ID on the bottom - the initial JB and the number 1187. Probably leads back to the manufacturer, but I've found nothing on line to help me...
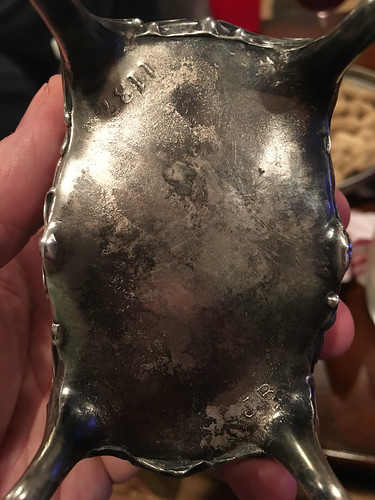
The bottom of the piece. Identification marks?
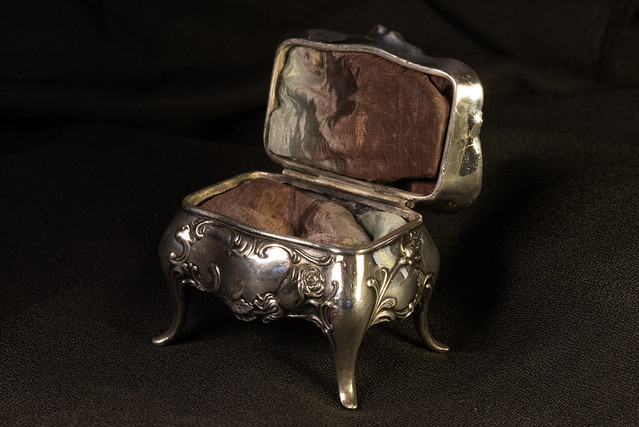
Interior of the box, with the 'casket' like puffy padding.
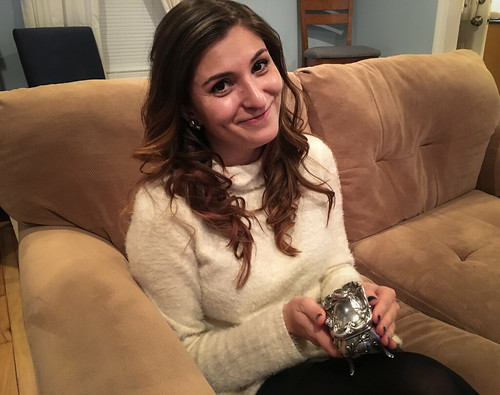
Safely in the hands of the new owner. I think she likes. :)
You can see a few more Jewelry Box photos in my Flickr Album.